How To Control A Raspberry Pi Remotely From Anywhere In The World
Controlling your Raspberry Pi remotely opens up a world of possibilities for automation, IoT projects, and remote management. Whether you're a hobbyist or a professional developer, mastering this skill can significantly enhance your productivity and creativity. In this comprehensive guide, we will walk you through the steps to set up remote access to your Raspberry Pi securely and effectively.
Remote control of your Raspberry Pi allows you to manage it from any location, provided you have an internet connection. This capability is particularly useful for projects that require continuous monitoring or interaction, such as home automation systems, weather stations, or remote servers.
In today's digital age, the ability to control devices remotely is no longer a luxury but a necessity. With the right tools and setup, you can ensure that your Raspberry Pi remains accessible and functional, no matter where you are in the world. Let's dive into the details of how to achieve this.
Read also:Raegan Revord Age A Complete Guide To The Rising Stars Life And Career
Table of Contents
- Introduction
- Why Remote Control is Essential
- Prerequisites for Remote Control
- Setting Up SSH on Raspberry Pi
- Configuring Port Forwarding
- Using Dynamic DNS for Remote Access
- Ensuring a Secure Connection
- Recommended Tools for Remote Access
- Common Issues and Troubleshooting
- Conclusion and Next Steps
Why Remote Control is Essential
Remote control of your Raspberry Pi is essential for several reasons. First, it allows you to manage your device without physical access, saving time and effort. Second, it enables you to monitor and troubleshoot issues from anywhere in the world, ensuring your projects remain operational. Lastly, remote access enhances the flexibility of your Raspberry Pi projects, making them more dynamic and responsive to your needs.
For instance, if you're managing a home automation system, you can adjust settings or check sensor data remotely. Similarly, if you're running a web server on your Raspberry Pi, you can update files or restart services without being physically present.
Prerequisites for Remote Control
Hardware and Software Requirements
Before setting up remote access, ensure you have the following:
- A Raspberry Pi with the latest version of Raspberry Pi OS installed.
- A stable internet connection for both your Raspberry Pi and the device you'll use to access it remotely.
- An SSH client on your computer (such as PuTTY for Windows or Terminal for macOS and Linux).
- A router with port forwarding capabilities.
Basic Knowledge
You should have a basic understanding of:
- Linux commands and terminal operations.
- Networking concepts, including IP addresses and ports.
- Security best practices to protect your Raspberry Pi from unauthorized access.
Setting Up SSH on Raspberry Pi
SSH (Secure Shell) is the most common method for remote access to a Raspberry Pi. Here's how to enable it:
Step 1: Enable SSH on Raspberry Pi
Follow these steps to enable SSH on your Raspberry Pi:
Read also:Klarna Customer Service Number 247 Everything You Need To Know
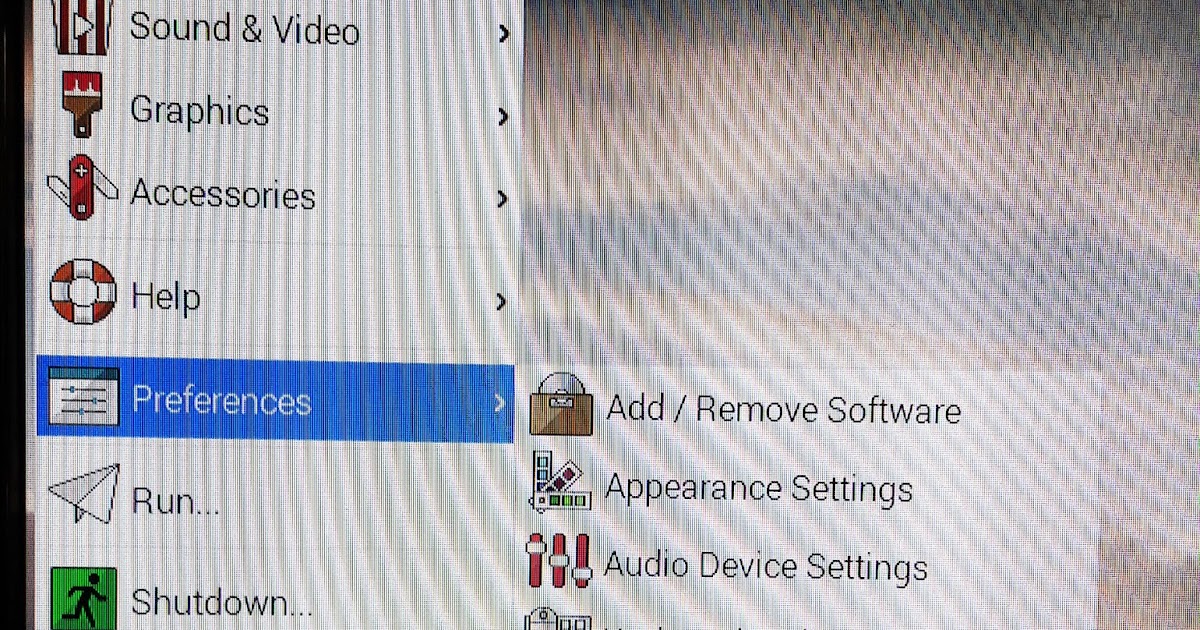
- Open the Raspberry Pi Configuration tool by typing `sudo raspi-config` in the terminal.
- Select "Interfacing Options" and navigate to "SSH".
- Choose "Enable" and reboot your Raspberry Pi.
Step 2: Find Your Pi's IP Address
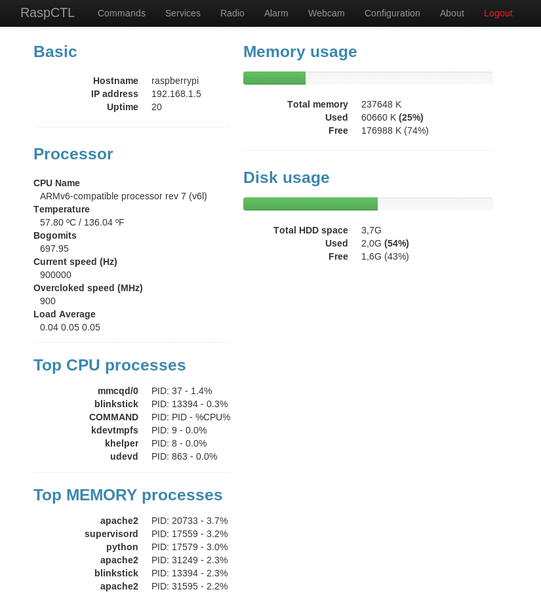
To connect remotely, you need to know your Raspberry Pi's local IP address. You can find it by typing `hostname -I` in the terminal.
Configuring Port Forwarding
Port forwarding allows you to access your Raspberry Pi from outside your local network. Here's how to set it up:
Access Your Router's Settings
Log in to your router's admin page using its IP address (usually `192.168.0.1` or `192.168.1.1`). Enter your credentials to access the settings.
Set Up Port Forwarding
Follow these steps:
- Locate the "Port Forwarding" or "Virtual Server" section in your router's settings.
- Create a new rule with the following details:
- Service Name: Raspberry Pi SSH
- External Port: 22
- Internal IP Address: Your Raspberry Pi's local IP address
- Internal Port: 22
- Save the changes and restart your router if necessary.
Using Dynamic DNS for Remote Access
Dynamic DNS (DDNS) is a service that maps your changing IP address to a static domain name, making it easier to access your Raspberry Pi remotely. Here's how to set it up:
Choose a DDNS Provider
Popular DDNS providers include No-IP, DuckDNS, and Dynu. Sign up for a free account and create a hostname for your Raspberry Pi.
Install DDNS Client on Raspberry Pi
Install the DDNS client by following the provider's instructions. For example, if you're using DuckDNS, run the following commands:
sudo apt update && sudo apt install curl
curl https://www.duckdns.org/install.sh | bash
Ensuring a Secure Connection
Security is paramount when setting up remote access to your Raspberry Pi. Follow these best practices:
Use Strong Passwords
Ensure your Raspberry Pi has a strong, unique password. Avoid using common passwords or leaving the default credentials unchanged.
Enable Key-Based Authentication
Key-based authentication adds an extra layer of security. Generate an SSH key pair on your computer and copy the public key to your Raspberry Pi:
- Generate a key pair using `ssh-keygen`.
- Copy the public key to your Raspberry Pi using `ssh-copy-id`.
- Disable password authentication in the SSH configuration file (`/etc/ssh/sshd_config`).
Recommended Tools for Remote Access
Several tools can enhance your remote access experience:
SSH Clients
For Windows users, PuTTY is a popular choice. macOS and Linux users can use the built-in Terminal application.
VNC for GUI Access
If you need graphical access to your Raspberry Pi, consider using VNC (Virtual Network Computing). Install the VNC server on your Raspberry Pi and use a VNC client on your computer to connect.
Web-Based Solutions
Tools like ngrok or PageKite allow you to create a temporary web tunnel to your Raspberry Pi, enabling remote access without complex configurations.
Common Issues and Troubleshooting
Here are some common issues you might encounter and how to resolve them:
Unable to Connect via SSH
- Ensure SSH is enabled on your Raspberry Pi.
- Verify your IP address and port settings.
- Check your router's firewall settings to ensure port 22 is open.
DDNS Not Working
- Confirm that your DDNS client is running and updating correctly.
- Check your DDNS provider's status page for any outages.
Conclusion and Next Steps
In this guide, we've covered how to control a Raspberry Pi remotely from anywhere in the world. By enabling SSH, configuring port forwarding, and using Dynamic DNS, you can securely access your Raspberry Pi from any location with an internet connection.
Remember to prioritize security by using strong passwords and enabling key-based authentication. Additionally, explore tools like VNC for graphical access or web-based solutions for temporary connections.
We invite you to share your experiences and ask questions in the comments below. For more in-depth guides and tutorials, explore our other articles on Raspberry Pi and IoT projects. Happy tinkering!
References:
Article Recommendations