How To Use Access Raspberry Pi VNC Over Internet Windows
Accessing your Raspberry Pi remotely using VNC over the internet is an essential skill for anyone working with this versatile device. Whether you're managing a home server, running IoT projects, or simply want to control your Raspberry Pi from anywhere, understanding how to set up VNC is crucial. This guide will walk you through the process step by step, ensuring you have a secure and reliable connection.
In today’s digital age, remote access to devices is becoming increasingly important. From troubleshooting to managing servers, being able to control your Raspberry Pi remotely offers flexibility and convenience. However, setting up VNC over the internet requires careful planning and adherence to security best practices.
This article will delve into the specifics of how to use access Raspberry Pi VNC over internet Windows. By the end, you'll have a comprehensive understanding of the tools, configurations, and security measures needed to achieve seamless remote access.
Read also:Understanding Chhase The Cultural Significance And Modern Interpretation
Table of Contents
- Introduction to VNC
- Raspberry Pi Setup
- Installing VNC Server
- Port Forwarding
- Using Dynamic DNS
- Connecting with VNC Viewer
- Securing Your Connection
- Troubleshooting Common Issues
- Alternatives to VNC
- Conclusion
Introduction to VNC
Virtual Network Computing (VNC) is a graphical desktop sharing system that allows you to remotely control another computer. It transmits the keyboard and mouse events from one computer to another, relaying the screen updates back in the other direction, over a network. VNC is widely used for remote tech support and accessing files on remote machines.
For Raspberry Pi users, VNC provides an efficient way to interact with their device without needing a monitor or keyboard directly connected to it. This is particularly useful when the Raspberry Pi is located in a different physical location or used as a headless server.
VNC Use Cases
- Remote management of Raspberry Pi
- Accessing files and applications
- Running headless servers
- Providing remote support
Raspberry Pi Setup
Before diving into VNC, ensure your Raspberry Pi is properly set up and connected to the internet. Start by installing the latest version of Raspberry Pi OS and configuring basic settings like Wi-Fi and user accounts.
Steps to set up Raspberry Pi:
- Download and install Raspberry Pi Imager.
- Select the latest Raspberry Pi OS version.
- Write the image to your microSD card.
- Insert the microSD card into your Raspberry Pi and boot it up.
Updating Raspberry Pi
After installation, update your Raspberry Pi to ensure all packages are up to date:
Run the following commands in the terminal:
Read also:Cactus Jack Baytown Menu A Comprehensive Guide To Flavorful Dining
sudo apt update
sudo apt upgrade
Installing VNC Server
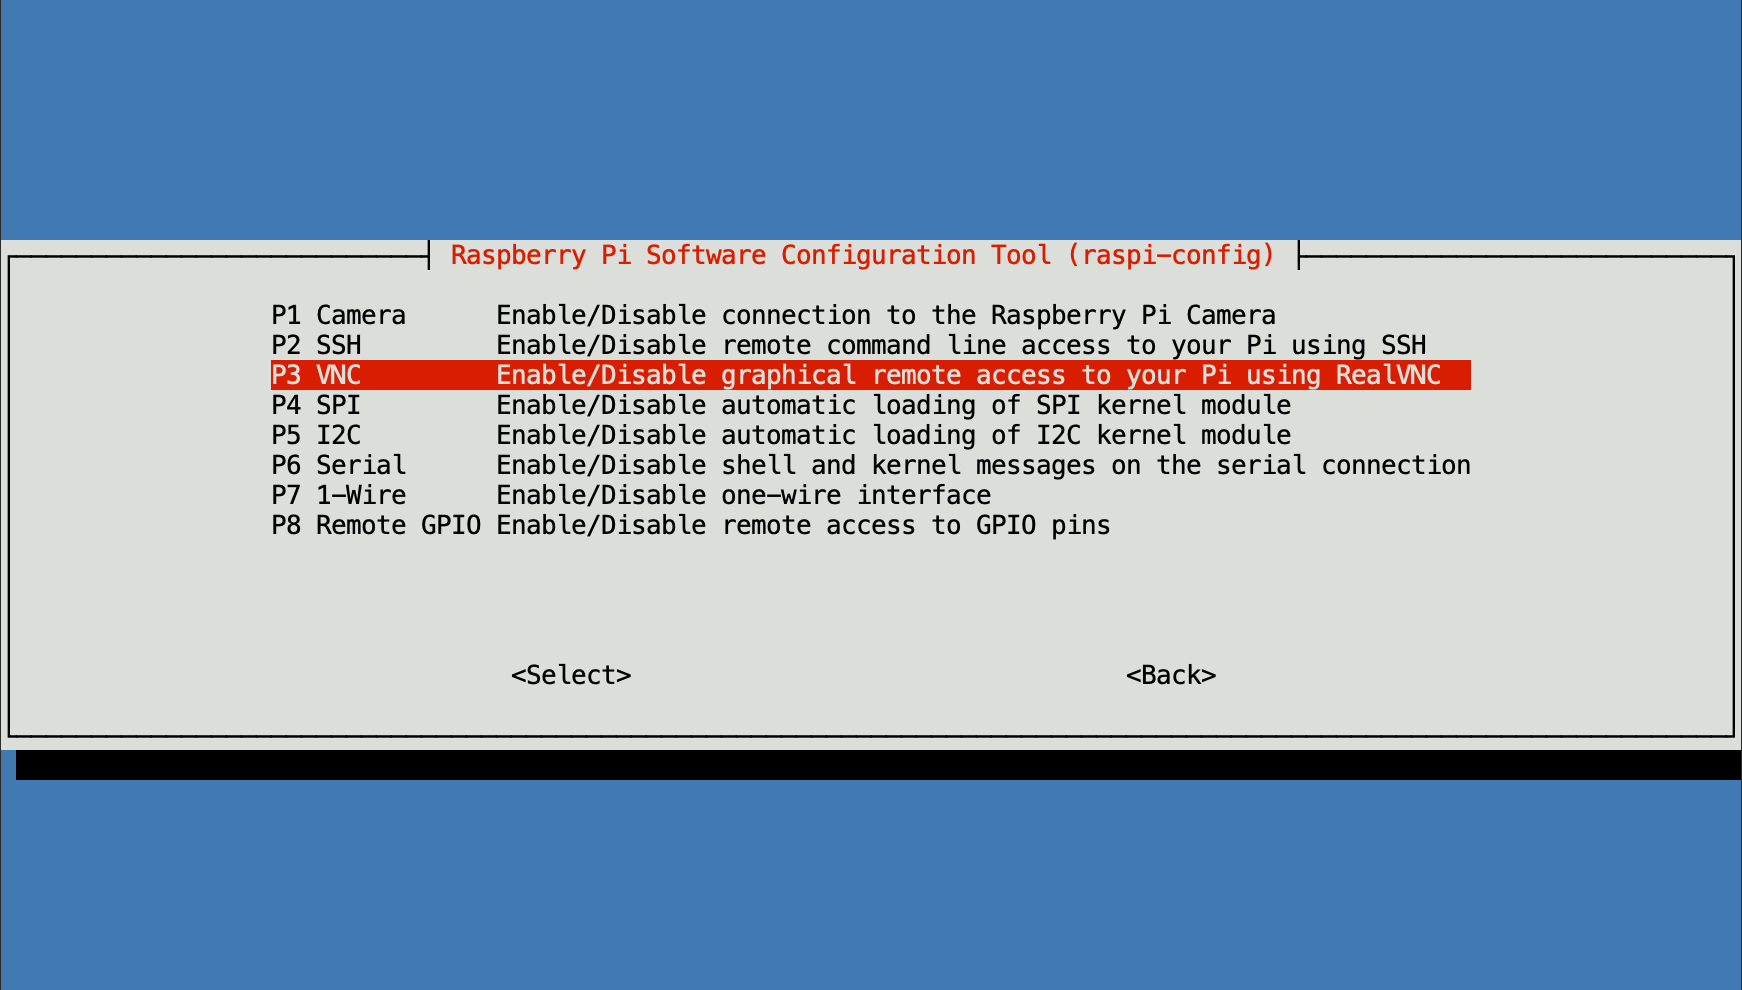
To enable VNC on your Raspberry Pi, you need to install the VNC Server software. This can be done through the Raspberry Pi Configuration tool or via the command line.
Using Raspberry Pi Configuration
- Open the Raspberry Pi main menu.
- Navigate to Preferences > Raspberry Pi Configuration.
- Select the Interfaces tab.
- Enable VNC and click OK.
Command Line Installation
Alternatively, you can install VNC Server using the terminal:
sudo apt install realvnc-vnc-server realvnc-vnc-viewer
Port Forwarding
Port forwarding is necessary to allow external devices to connect to your Raspberry Pi's VNC server over the internet. This involves configuring your router to direct incoming traffic on a specific port to your Raspberry Pi.
Steps to configure port forwarding:
- Log in to your router’s admin interface.
- Locate the port forwarding section.
- Create a new rule, specifying the external port (e.g., 5900) and the internal IP address of your Raspberry Pi.
- Save the settings and reboot your router if necessary.
Security Considerations
When setting up port forwarding, ensure you use strong passwords and consider using a non-standard port to reduce the risk of unauthorized access.
Using Dynamic DNS
Dynamic DNS (DDNS) allows you to assign a domain name to your home IP address, which may change periodically. This makes it easier to connect to your Raspberry Pi over the internet without needing to know the exact IP address.
Popular DDNS Providers:
- No-IP
- Dynu
- duckDNS
Setting Up DDNS
- Create an account with a DDNS provider.
- Register a domain name.
- Install the DDNS client software on your Raspberry Pi.
- Configure the client to update the domain name with your current IP address.
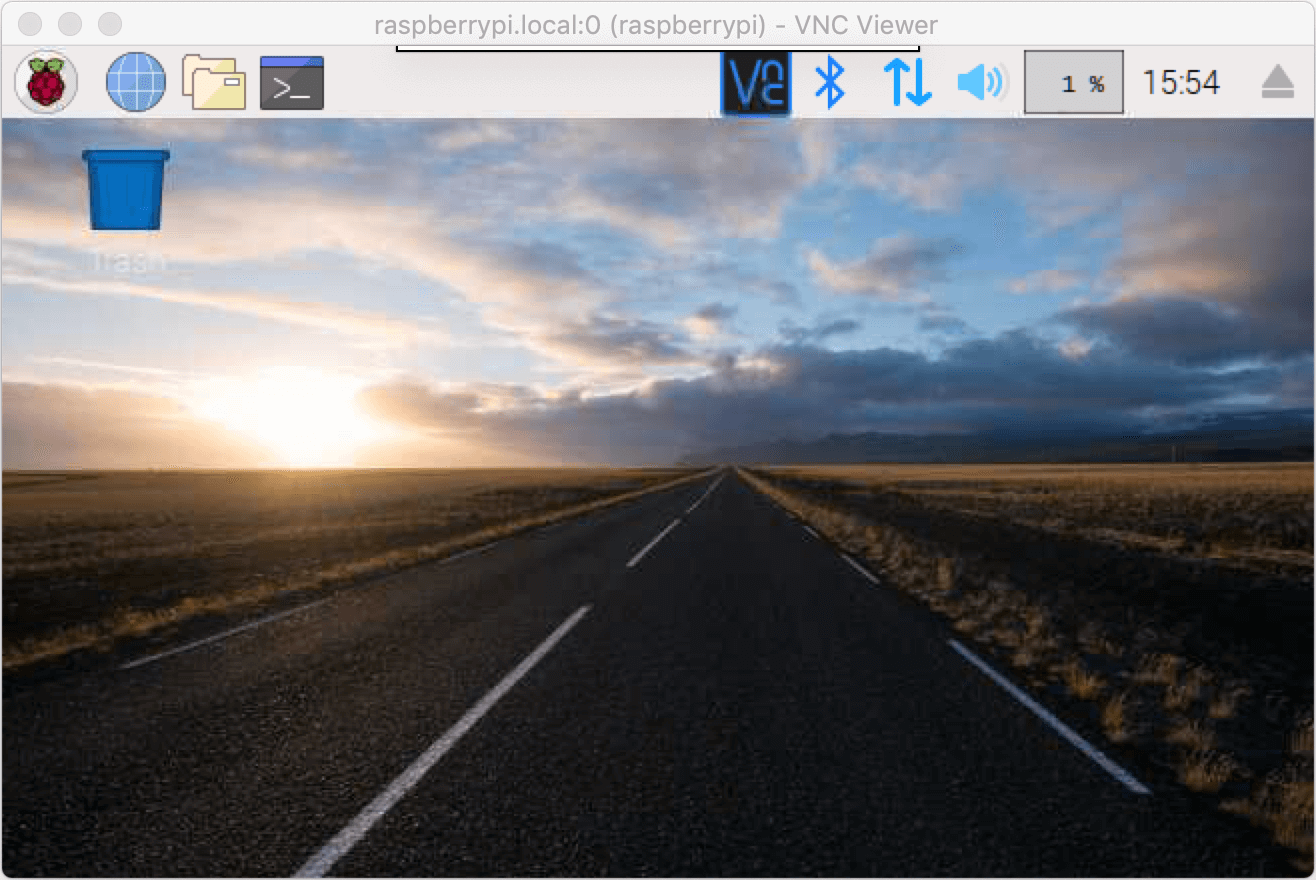
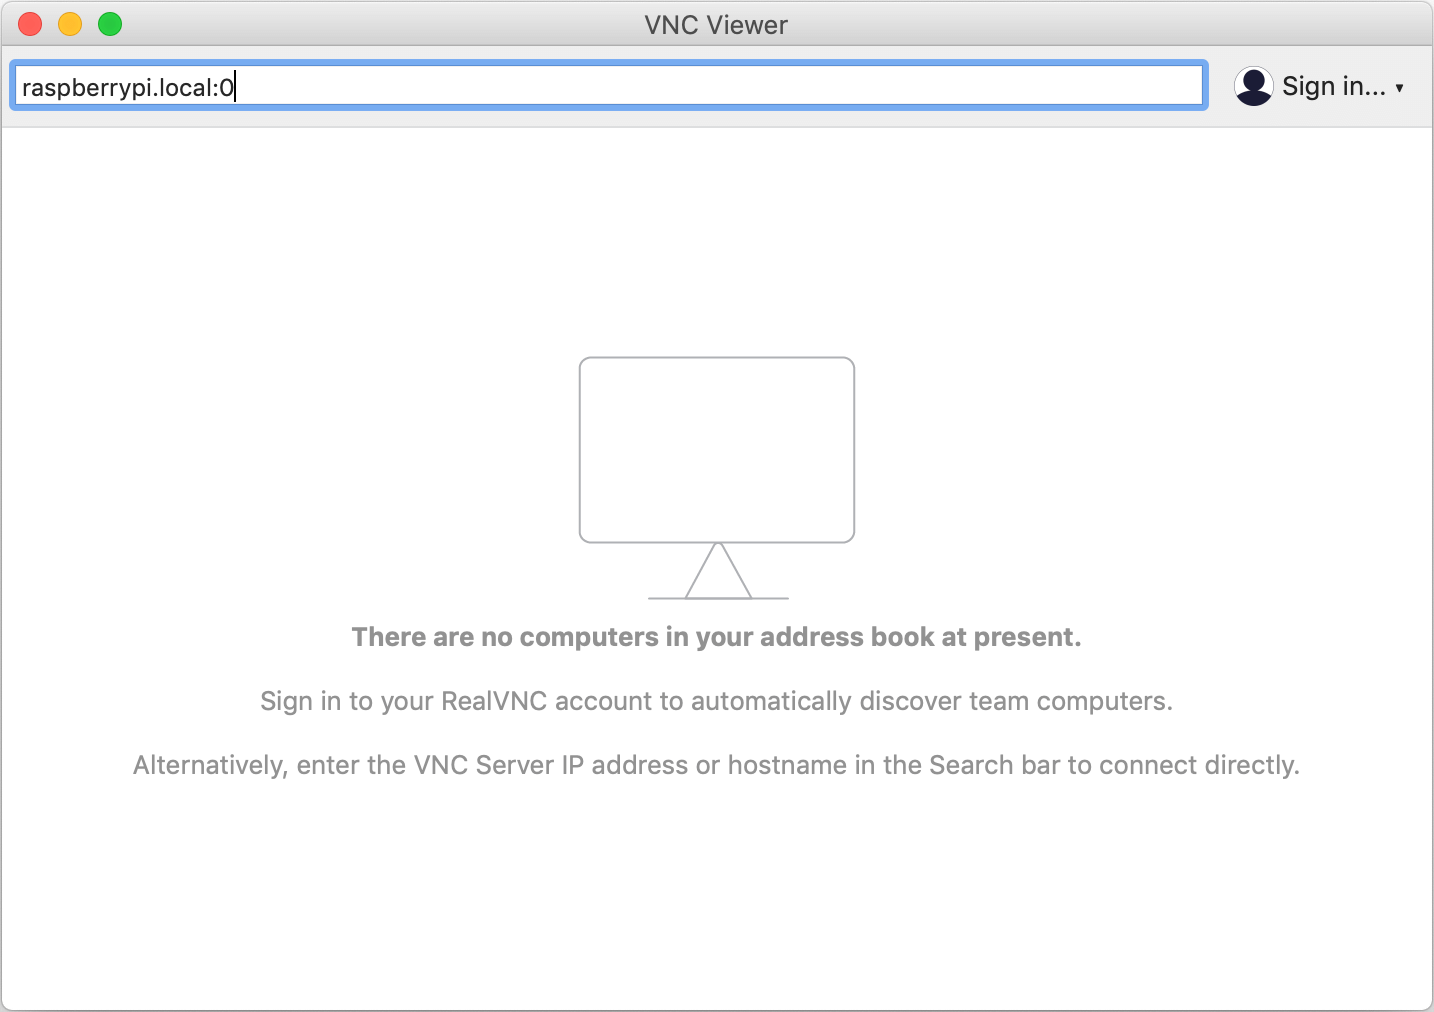
Connecting with VNC Viewer
With VNC Server installed and port forwarding configured, you can now connect to your Raspberry Pi using a VNC Viewer application on your Windows PC.
Steps to Connect:
- Download and install the VNC Viewer software on your Windows machine.
- Open VNC Viewer and enter the DDNS domain name or IP address of your Raspberry Pi.
- Enter the VNC password when prompted.
- You should now see the Raspberry Pi desktop on your Windows PC.
Tips for Better Performance
- Use a wired Ethernet connection for better stability.
- Adjust the VNC resolution settings for optimal performance.
Securing Your Connection
Security is paramount when accessing your Raspberry Pi over the internet. Implementing additional security measures can help protect your device from unauthorized access.
Best Practices:
- Use strong, unique passwords.
- Enable two-factor authentication if supported.
- Regularly update your Raspberry Pi and VNC software.
- Consider using a firewall to restrict access.
Troubleshooting Common Issues
Even with careful setup, issues may arise. Here are some common problems and their solutions:
Connection Issues
- Verify that port forwarding is correctly configured.
- Ensure the VNC Server is running on your Raspberry Pi.
- Check that your router’s firewall is not blocking the connection.
Performance Problems
- Reduce the screen resolution in VNC settings.
- Optimize network bandwidth usage.
Alternatives to VNC
While VNC is a popular choice for remote access, other tools are available depending on your needs:
Popular Alternatives:
- SSH (Secure Shell) – Ideal for command-line access.
- TeamViewer – Offers cross-platform remote access.
- AnyDesk – Provides fast and secure remote connections.
Conclusion
Accessing your Raspberry Pi using VNC over the internet is a powerful tool that enhances flexibility and convenience. By following the steps outlined in this guide, you can set up a secure and reliable connection from your Windows PC. Remember to prioritize security and regularly update your software to protect against potential threats.
We encourage you to share your experiences and tips in the comments below. If you found this article helpful, consider sharing it with others who may benefit. For more in-depth guides and tutorials, explore our other articles on Raspberry Pi and remote access solutions.
Article Recommendations